
Navigating an airport for the first time can be a daunting task. Everyone rushing around you seeming to know where they are going, all while you just stare at the dozens of screens not knowing where to go or what to do. The good news is that airports are fairly standardised the world over, so whether you are flying from Birmingham or Bangladesh, you can rest assured that the airport procedure will be pretty similar. If you are a first-time flyer and are not sure how to navigate an airport, then this handy step-by-step guide will help you out.
Step 1 – Arrive in plenty of time
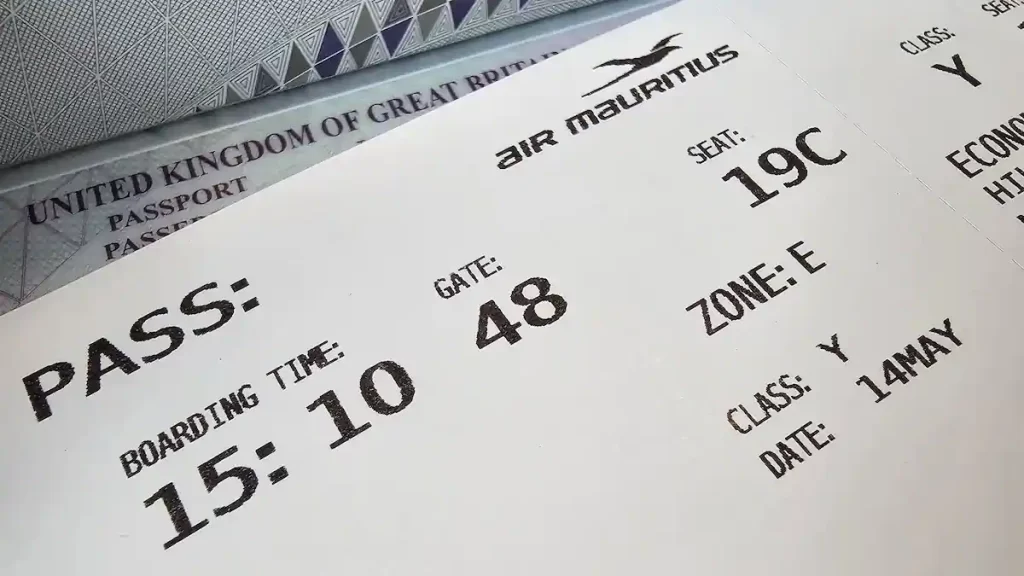
Getting through an airport can take a while, so it is important that you leave yourself enough time to check-in, get through security and find your gate. The usual recommended time is to arrive 2 hours before your flight if you are flying short-haul or domestic, and 3 hours if it is a long-haul international flight. Check your booking details as the airline usually states what the recommended arrival time is for that flight. The boarding pass will also tell you what time the gate will close, so you have to ensure that you reach it by this time otherwise you won’t be allowed to board.
Read more about ways to get to the airport HERE
Step 2 – Which terminal?
Airports are divided up into terminals. These are buildings where you fly out from or land into. Major airports often have more than 1 terminal. Terminals can be categorised with numbers, letters or descriptions e.g. departures terminal, domestic terminal etc. Before going to the airport, you need to identify if your airport has more than one terminal. If there is only 1 departure terminal, then there is no need to worry as you only have one place you can depart from. If there are multiple terminals then you will need to check your ticket, your airline’s app, or the airport website to find the correct terminal for your flight. Generally, certain airlines will only fly out of certain terminals, so just look at the airport’s website to find out which terminal your airline flies out of.
Step 3 – Do you need to go to check-in?
When you first arrive at the departures terminal, you will find a long area with lots of TV screens and dozens of numbered desks. These desks are the check-in desks for the different airlines. The check-in area is used for 2 reasons. Firstly, they are for checking you into your flight and receiving your boarding pass, and secondly it is to drop off any checked luggage. You do not need to go to the check-in desk if all three of the following things apply to you:
- You have already checked in online
- You have already received your boarding pass either digitally or a paper copy
- You don’t have any checked baggage and are only flying with carry-on luggage
If all of these things apply, then you can skip the check-in part and go straight to ‘Step 6 – Preparing for security‘.
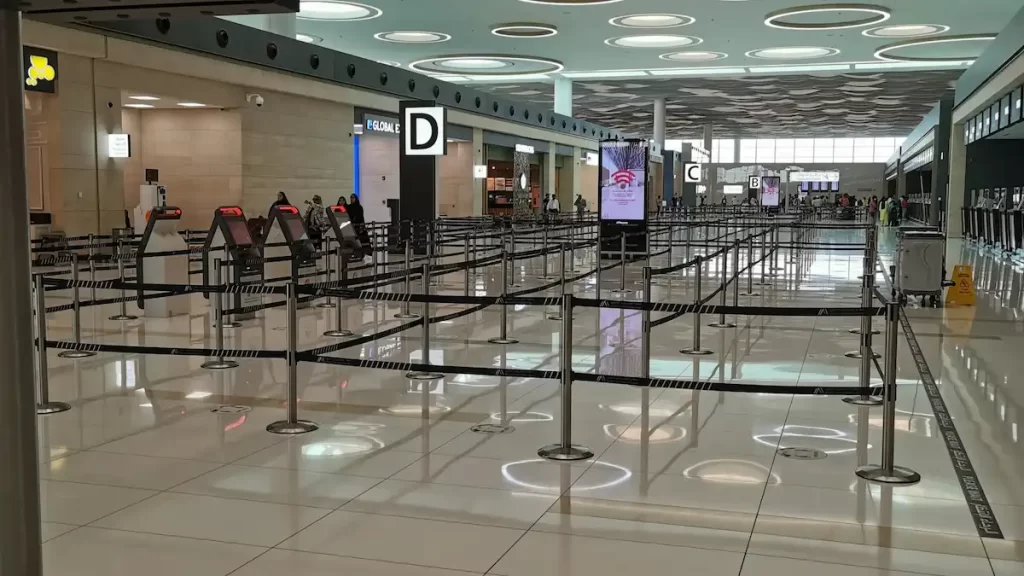
Step 4 – Finding your check-in desk
If you need to go to a check-in desk to check-in or drop off luggage, then you will need to find out which desk to go to. Located all around the departures check-in area will be TV screens. These screens will list all the different airlines and will tell you which number desk to go to. Look for your airline on the screen and go to that desk or area. Sometimes check-in desks will just have numbers and sometimes they will have a letter followed by a number. The letter is just the section you have to go to to find the numbered desks. This area will have signposts everywhere, so just follow the signs to find your check-in desk.

Step 5 – Check-in and baggage drop
Once you arrive at the check-in desk you will be asked for one or all of these things: passport, boarding pass and booking confirmation. The staff will print off a boarding pass if you don’t already have one. Next you put your luggage on the weighing scales and the staff will attach a tag. It will then be taken along a conveyor belt and off onto the plane. At some airports you may have to weigh your luggage yourself on a separate scale, attach the tag, and drop it off at a certain location. The same applies if you are travelling with large items such as a pram, skis, or golf clubs. Don’t worry though, the staff will walk you through this if this applies to you.
Step 6 – Preparing for security
Once you have checked in and dropped off your luggage, it’s time to go through security. This section probably takes the longest time when navigating through an airport. Make sure that any liquids over 100ml are disposed of, so pop into the toilets to empty out your water bottle before heading to security.
The first step is usually showing your boarding pass or passport to a member of staff or alternatively scanning it at a machine which lets you into the security area. Staff will be on hand to direct you where to go and explain security procedures. It is normal that staff here may be a bit loud or direct with people, but it is nothing personal, they just have to deal with thousands of people every day and have to get them through security quickly. There will also be signs dotted around explaining what you need to do once you get to the security area.
This is where things can change from airport to airport. Depending on the type of technology each airport has can depend on whether you need to remove certain items of clothing or take out certain items from your luggage. Again, the signs and staff members will often make this clear before you get to the security area.

Below is a list of common things which you may have to do at security (note that this can vary from airport to airport).
- Remove hats, sunglasses or anything else covering your face. Religious headwear is often exempt, or they may do additional checks if you are wearing such items.
- Remove belts, watches and other heavy jewellery. This is because too much metal can set off the metal detectors.
- Remove shoes or large boots. I find this is 50/50 whether they ask you to do this or not. It is more common if you are wearing steel top caps or thick soled boots.
- Remove coats and jackets.
- Empty pockets. They don’t want anything in your pockets setting off the metal detectors.
- Empty any water bottles or flasks (if they are over 100ml). You can keep the bottle, as long as it’s empty. Best to do this before getting to security as there is not always somewhere to empty water.
- Ensure all liquids, gels and creams are less than 100ml. Put them all in a clear plastic sealable bag. Take that clear bag out of your luggage.
- Take out large electronics from your bag e.g. laptops, iPads, DSLR cameras.
- Leave everything in your bag – This is getting more common now as technology improves. Certain airports now ask you to leave all your belongings including electronics and liquids in your bag. But this will be made clear on signs before you get to security.
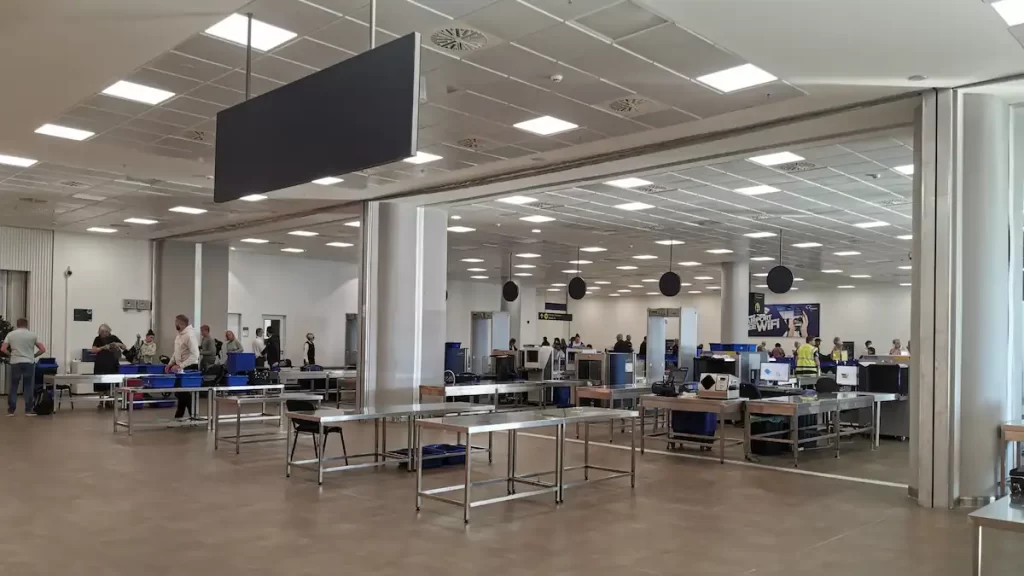
Step 7 – Going through security
Trays
After what seems like ages of queuing, you will reach the security desk. This area usually consists of a conveyor belt with trays, a metal detector and sometimes other large scanners. There will be lots of staff members manning these areas to ensure everything runs smoothly. When it is your turn, you will be given a tray to put all of your belongings in. This will be your luggage and other items you have been asked to take out or remove e.g. coat, liquids, electronics. Once everything is in the tray, a staff member will take it off you and will put it onto the conveyor belt to go through an X-ray machine. They are checking that your luggage doesn’t contain any banned items such as knives, explosives or liquids over 100ml.
Metal detector
Next you will be sent to another queue to go through the metal detector. You will be called through by a member of staff and you just walk through this machine. If there is no beep, then you have passed security and can collect your belongings. If the metal detector beeps, then the staff member will double check that you haven’t left anything in your pockets by mistake or that you aren’t wearing anything with lots of metal. If after these checks you go through again and it still beeps, the staff will wave a handheld metal detector over your body and may do a light body search. This is nothing to worry about. It will be a staff member that is the same sex as you and they will lightly run the back of their hand over your body on top of your clothes.
Other checks and scanners
Some airports have additional machines and scanners which test for things such as explosive materials. There are handheld devices which they wipe over your hands and feet and machines which you stand in and raise your arms above your head. These are very quick, non-invasive and nothing to worry about. These additional machines may be used on every passenger, or they may be used only in certain circumstances.
Note that airports will conduct random checks several times a day. This means that your baggage or person may be chosen for additional security screening. This again is nothing to worry about, it is just random, and they may do things such as look inside your bag, ask you some questions about your travels or get you to go through additional screening, as mentioned above.
Once you have passed through security you will then enter the departure area.
Step 8 – Departures
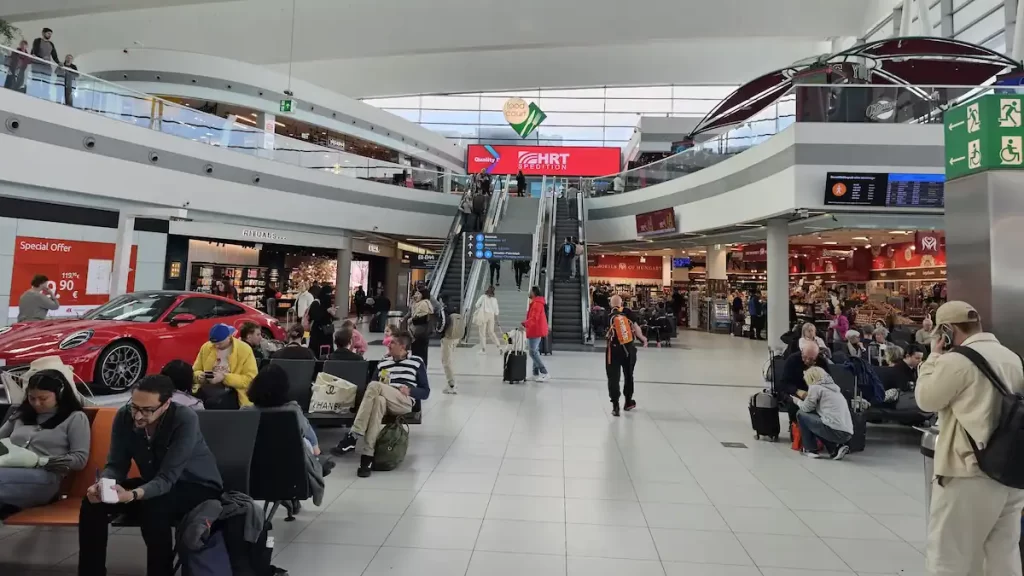
Hopefully you have passed through security quickly and have plenty of time to spare to enjoy the departures area. This area is where you will wait until you are ready to board the plane. The departures area usually contains restaurants, shops and duty free to keep yourself entertained and well fed until you are ready to board. The larger airports can have other amenities such as salons, cinemas and children’s play areas. There are usually many other useful services such as foreign exchange, water fountains and charging stations as well.
If you are feeling fancy, you can also pay to enter an airport lounge. These are private areas which have comfy seats, Wi-Fi, and food and drink often included. These lounges vary in price and some can only be accessed if you are travelling first class or with a certain airline. It can be worth the money though if you have a pretty long wait until your flight and are planning on buying food anyway. Just check how long you are allowed to be in there, as some only allow you to enter a maximum of 3 hours before your flight.
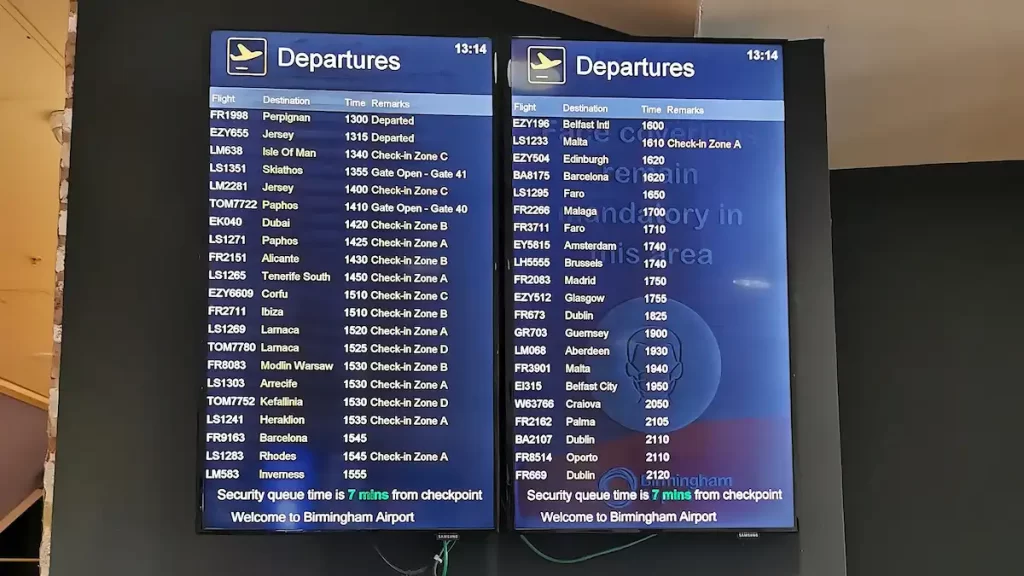
In the departures area there are many TV screens around. These list all the outbound flights flying out of that terminal. They are listed in time order, so check them regularly as they will tell you what gate you need to go to and when boarding has started.
Step 9 – The gate
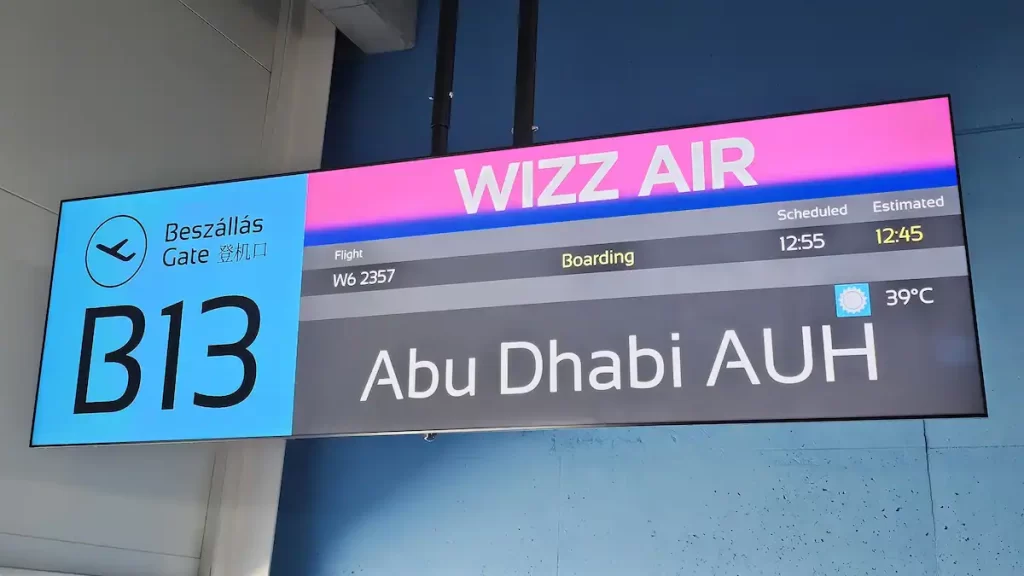
The TV screens around the airport will tell you what gate you are departing from and will inform you when it’s time to go to the gate. It will also tell you if your flight has been delayed or cancelled.
There are usually 3 stages to boarding which will be displayed on the screens.
- ‘Go to gate‘ – The first message informs you it’s time to make your way to your assigned gate. Boarding has not started yet, so don’t panic about running through the airport at this stage.
- ‘Boarding‘ – This is when they have started to board the plane. You should be at the gate at this stage. Boarding can take anywhere from 20-45 minutes, depending on the size of the plane.
- ‘Final call’ – This is the final call to all passengers to get themselves to the gate for boarding before they close the gate. If you are not already at the gate at this stage, it is best to start running.
It will tell you on your boarding pass what time the gate closes. This can be as early as 1 hour before the plane takes off. If you are not at the gate by the time on your boarding pass, they can refuse you entrance onto the flight. If this happens then you won’t be able to fly and you won’t get a refund.

Step 10 – Boarding
When you are at the gate the airline staff will check your passport and boarding pass once again. When you are due to board, you will hear an announcement letting you know it’s time to board. Often, they will get first class passengers and those with a wheelchair or children to board first. Sometimes they will also call out specific rows in a certain order to make it easier to board.
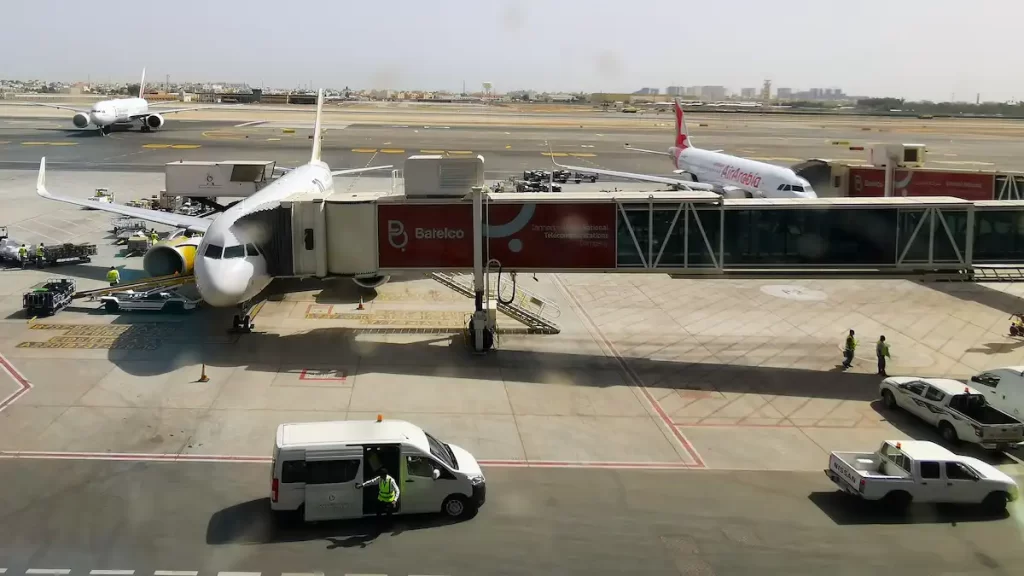
During boarding you will either walk straight onto the plane, or you will be directed to a bus which will drive you out to the plane. Some airplanes have front and rear boarding, so check your boarding pass to see if it tells you which door to use. Airline staff will be at the entrance of the plane greeting all the passengers and helping you to find your seat. On your ticket you will find your seat number. It will contain a letter and a number. The number tells you which row you are in (row 1 starting at the front of the plane) and a letter which tells you whether you are a window, aisle or middle seat. If you want to see the layout of the airplane before you board, you can just google the model of the plane you will be flying on or check out the airline’s website.
Once on the plane, quickly find your seat and put your hand luggage in the overhead locker or under the seat in front of you. Do your seatbelt up, make sure your window blind is open and table is folded away, and your armrests are down. Then await take off.

Step 11 – Take off
When the plane is ready for take-off, the airline staff will walk through the cabin checking your seatbelt is fastened and everything is ready on the plane. They will then do a safety demonstration showing where the lifejackets and emergency exits are and how to put the life vests and oxygen masks on. If you are travelling with a small child or in an emergency exit aisle, they will also come around and personally discuss any additional safety measures with you.
Step 12 – In the air
After the plane has taken off, the seat belt sign will remain on until the plane has reached it cruising altitude. Once the seatbelt sign has been turned off you are free to move around the cabin (although it is advisable to keep your belt on when seated in case of turbulence). Throughout the flight the airline staff will go through the cabin several times with drinks, food, duty free or other things. Depending on the airline, the class you are flying in and whether it is long or short haul will depend on what amenities you get given and whether you have to pay. Towards the end of the flight, the captain will announce when they are starting to land, and the seat belt signs will be turned back on.
Travelling long-haul? Then read Long-haul flight essentials: What to pack in your carry-on.

Step 13 – Landing and passport control
When the plane lands you will need to know how to navigate the airport at the other side. The first step will be to either walk straight off the plane into the airport or get on a bus which will drive you to the terminal. Next you will reach passport control. Here you will have to show your passport and any visas required. The staff may ask you questions such as the purpose of your visit. Some airports will just have an electronic gate where you can just scan your passport. This is dependent on the airport and your nationality.
After passport control either follow the signs for the baggage claim area or transfers if you have a connecting flight.

Step 13.5 – Transfers
I have put this as 13.5 because this step won’t apply to everyone. If you know you have a connecting flight, then follow the signs for ‘transfers’ or ‘connecting flights’. You should have been told when you checked in whether you have to collect your bag before getting on your next flight or not. If you have to collect your bag, then continue to ‘Step 14 – Baggage claim’ and reclaim your bag before finding your next flight. If the airline is transferring your bag for you, then you just need to go to your next flight and don’t have to worry about collecting your luggage.
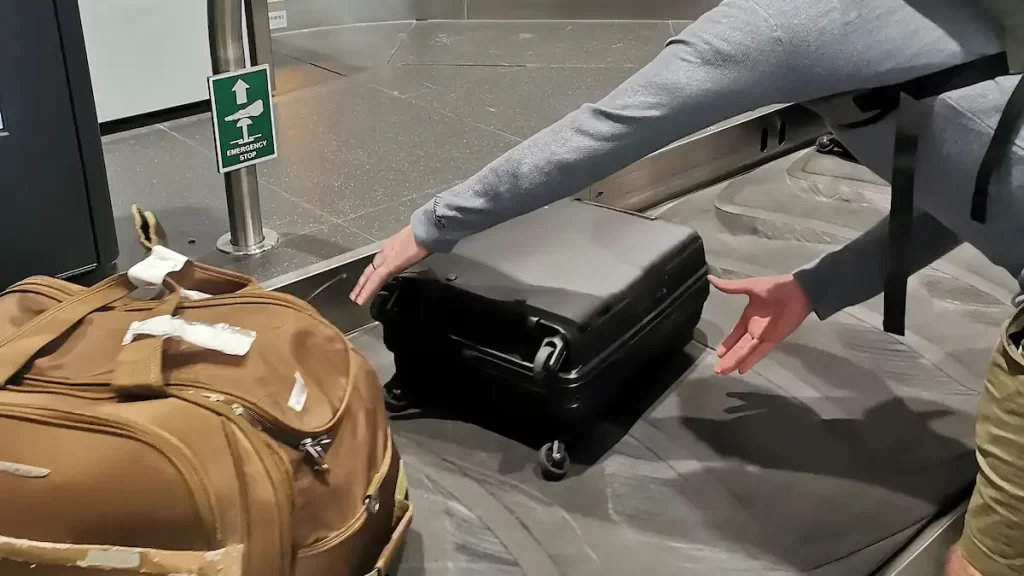
Step 14 – Baggage claim
In the baggage hall will be TV screens informing you of what number carousel your luggage will be on. Go to that carousel and wait for your luggage to be unloaded. This area can get quite crowded but just be patient. If you miss your luggage the first time, it will come back around on the carousel again. Don’t forget that lots of luggage looks the same, so double check your luggage tag to make sure you have picked up the correct bag.
If you have travelled with only hand luggage, then you can skip this part and just go straight to ‘Step 15 – Customs’.
Step 15 – Customs
On the way to the exit of the airport you will have to pass through customs. There are two lanes for customs, the red lane where you have ‘goods to declare’ and the green lane where you have ‘nothing to declare’. You will need to ensure you are aware what goods must be declared in the country you are travelling to. Customs is sort of based on an honesty system whereby you go through the channel which applies to you. Although most of the time there is no one checking in the green lane, they will do random checks. If you are found to be going through the ‘nothing to declare’ area and you have goods in your bag which do need declaring, then you can face serious penalties, so make sure you declare all goods. If you have goods to declare then go through the red lane and explain what goods you are declaring. I personally have never had to do this, so I can’t give much more advice about what happens during this stage.
Goods to declare can include a certain amount of cigarettes, alcohol or currency, restricted or endangered animals or plants, or items which you plan on selling.

Step 16 – Arrivals
After customs you will enter the arrivals area. If you have arranged for someone to pick you up e.g. a family member or tour company, this is usually where they will wait. You will often see dozens of people waiting and holding up signs, so look for a sign with your name on if you are expecting to meet someone.
The arrivals area is like a smaller version of the departures area. It will contain some shops and cafes as well as toilets and possibly foreign exchange and transport booths.
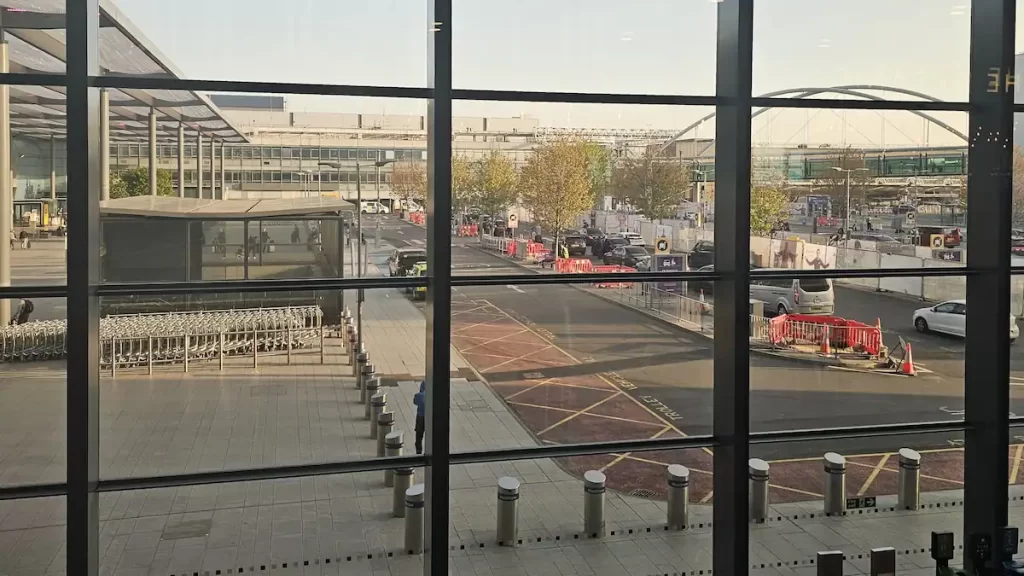
Step 17 – Your onwards journey
Congratulations you have learnt how to navigate an airport. All that is left now is to continue onto your final destination. Airports will have many transport options to get you to where you need to go. These may include taxis, buses, an underground or shuttles. If you have pre-arranged your transfer, then you should follow the instructions given to you on your booking confirmation. If not, then there will be signs within the airport to the taxi rank, bus stops or train station. From here you can continue your onwards journey to your final destination.
Now that you know how to navigate an airport, find out what to expect when you arrive at your destination.


1 comment
I remember the first time I flew alone, I had to ask the nice people at the airport for help and the flight was delated the gate was changed, it made me miss my connecting flight and it was all a hot mess. I wish I had this guide back then haha